Do you dream of a kitchen renovation? Your inspiration is already pinned, you tell yourself you’d cook more if you had better “flow”, and every whizz and whirr of your appliances reminds you that they’re old–we get it.
Well, we’re here to tell you that you can give your kitchen a makeover without breaking the bank and without it being a massive, months-long project. Painting your kitchen cabinets can help you create a before-and-after makeover that’s Instagram worthy.
Ready to get started?
Make sure your cabinets can be painted
Wood is ideal, but in general, any surface that can be sanded can be painted.
How long will it take to paint my kitchen cabinets?
Block off 3-5 days to prepare, paint, and clean up. Priming and painting takes 1 day to dry between each coat. The more cabinets you have, the longer the overall project will take.
How much will materials cost?
It depends on if you’re starting your toolset from scratch for this project, or if you already have some of the supplies on hand. Keep reading for which tools you’ll need and an estimated project budget.
Ensure you have the proper tools/equipment
|
Product |
Price Range |
|
Drill |
$25-200 |
|
Paint scraper |
$5-25 |
|
Putty knife |
$3-10 |
|
Medium grit sandpaper or sanding sponge |
$3-15 |
|
Safety goggles |
$4-30 |
|
Drop cloth for dusting between coats |
$2-25 |
|
Painters tape |
$5-10 |
|
Wood filler |
$5-10 |
|
Degreaser |
$5-15 |
|
Primer |
$15+ per gallon |
|
Paint |
$35+ per gallon |
|
Mini roller and brush |
$5-10 |
|
Paint tray |
$2-10 |
|
Optional: |
|
|
Rent a paint sprayer |
$40/day |
|
Rent a handheld sander |
$15/day |
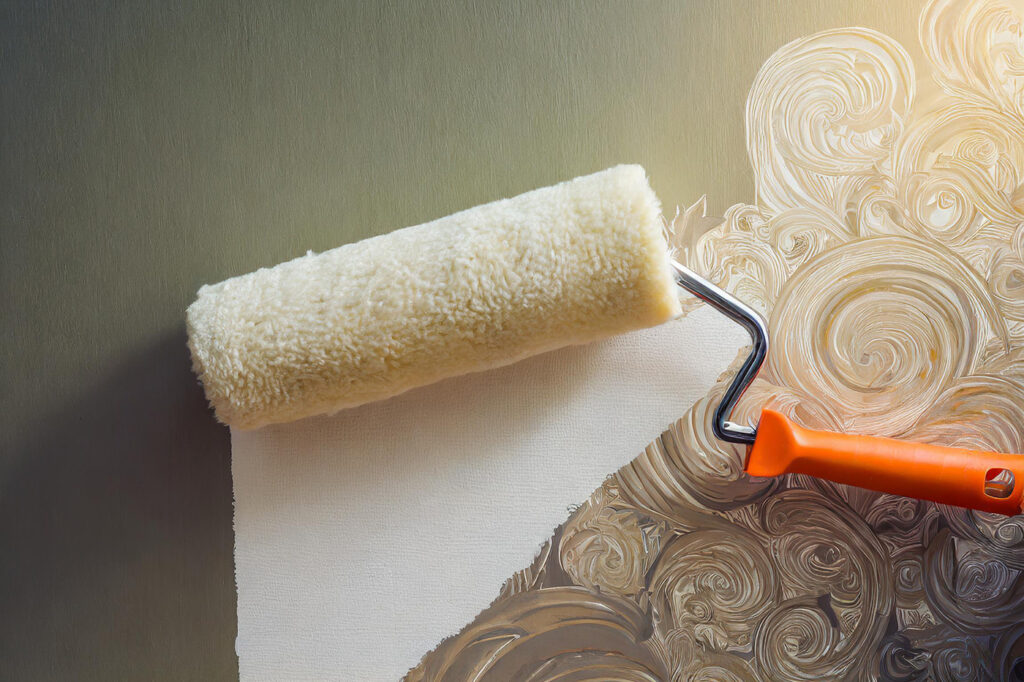
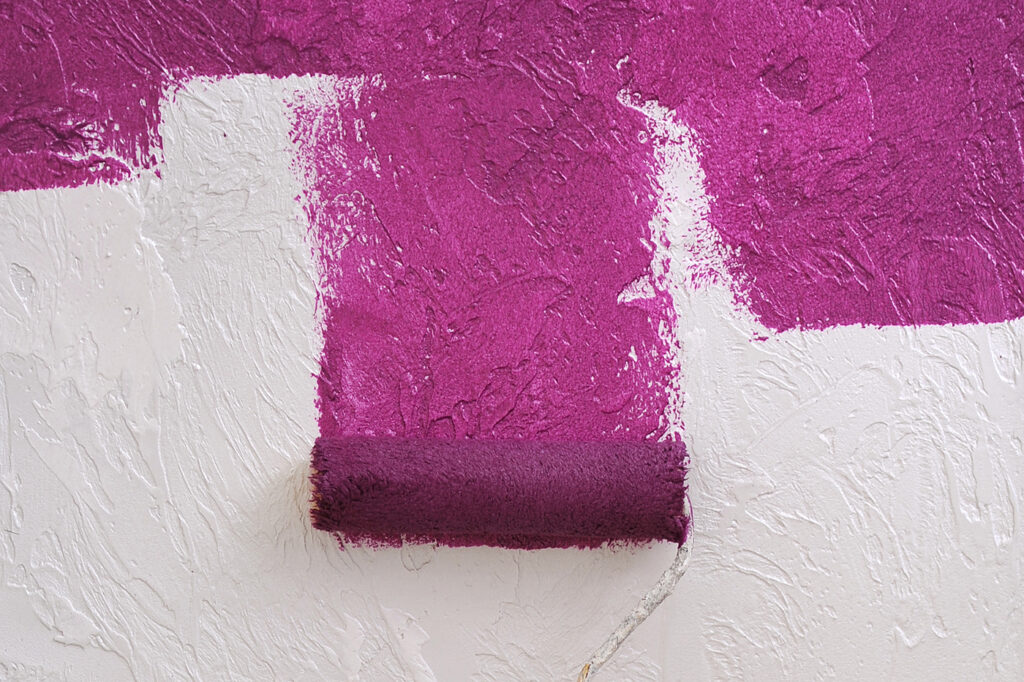
Get the right kind of paint
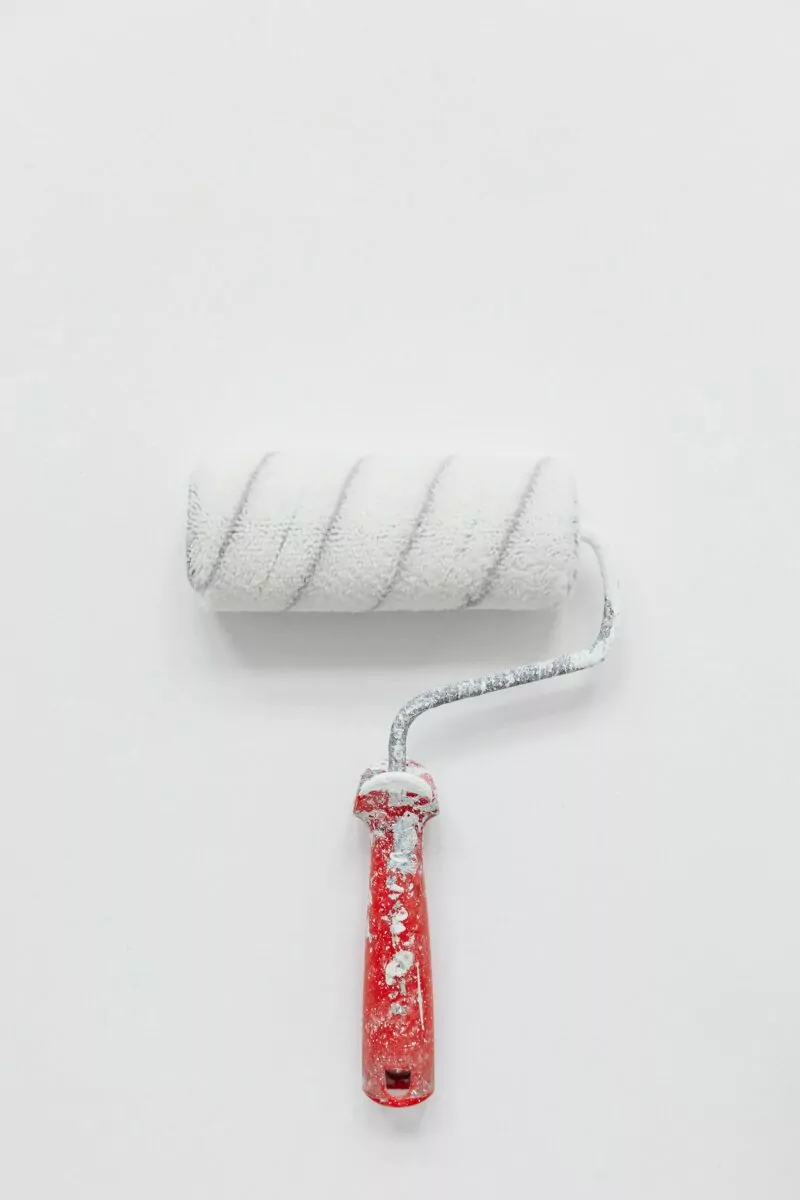
Acrylic paint will work best, and semi-gloss or satin finishes are most common. The more glossy the finish, the more likely you are to see dust, dirt, or paint imperfections–keep this in mind if you have kids and pets.
To determine how much paint to get, decide if you’ll be painting the inside and outside of the cabinets as well, or just the doors. As for drawers, most people just paint the face of the drawer and skip painting the inside.
When it comes to primer, make sure it’s oil based.
Decide if you will keep your current hardware or if you want to replace
New hardware–cabinet knobs and handles–is another way to give your kitchen an update and add your own personality. Prepare to fill or drill holes if you get knobs or handles that don’t equal the same number of existing holes in your cabinet.
How to prepare your cabinets for priming and painting
Getting prepared will help you achieve an efficient process and high-quality end result.
- Remove all doors and drawers.
- Remove all hardware.
- Seal the interiors of your cabinets if you don’t plan on painting the inside. (Add time to the project if you plan on painting the insides to empty out your items, and put then back in once finished!)
- Use paint stripper and a plastic scraper to remove the old paint. (Note: if your cabinets are currently painted and in good condition, you can paint right over them once you’ve cleaned the surface–but that’s not typically the case.)
- Degrease/clean all surfaces with an abrasive pad.
- Use your putty knife to apply wood filler and smooth surfaces and fill holes if necessary (if you plan on changing hardware). Be sure not to cover existing holes if you’re using the same hardware!
- Use medium grit sandpaper to sand all surfaces that will be painted. (Add time if you’re doing this manually and without an electric sander.)
- Make sure all surfaces are dust free.
Get ready to prime and paint
- Ensure you have enough space to paint the cabinet doors and drawers–typically done in the garage, basement, or backyard.
- Cover your work area with a drop cloth.
- Ventilate your space with open windows, open doors, and/or fans.
- Cover your countertop, backsplash, appliances, etc. with a plastic sheet and secure with painters tape to prep for painting the cabinet frames.
- Using a mini roller, prime one side of the cabinet, let it dry, then paint the other side. (Note: most painters have a paint sprayer which achieves an even and high quality finish, but DIYers can use a brush and roller.)
- Buff the cabinets once the primer is dry.
- Wait 1 day before applying the first coat of paint. Lightly buff.
- Wait 1 day before applying the second coat of paint.
Clean up
- Remove all protective covers/cloths, tape, etc.
- Reaffix your cabinets and hardware.
Optional steps
- If you’re using your same hardware, polish it!
- Apply shelf liners if you’ve left the insides of the cabinets unpainted.


Many DIYers who have painted their own kitchen cabinets, while happy with the finished product, don’t realize what a big project it is before getting started. After weighing the cost of materials plus the time it will take, you may decide that it would be more efficient and affordable to hire a Tasker. You can keep your budget small and save yourself some time by doing some of the prep work and letting a Tasker finish the job.
Information provided by The Hutch is for general and informational purposes only and we make no warranty regarding the accuracy, completeness, or validity of any content.